

It may be hot as hell, but that doesn’t mean you can’t give your car an amazing detail. As a mobile detailer, I often work in unfavorable conditions. In the summer, I have to work under the constant heat of the sun and still produce high-quality results for my clients. Direct sunlight and high temperatures create their own set of challenges that I need to combat. Over the years, I have developed systems and found products that work especially well in these harsh conditions.
Background
This detail was done on a blazing hot 96F day in late July. Normally, I try to schedule vehicles for early mornings or late evenings in the summer, but that wasn’t possible for this Audi, so I started around 10:00 AM and finished around 6:30 PM. The car had not been washed in quite some time, so it was booked for a wash, clay, one-step correction, and sealant.
However, I want to be clear, this is not the optimal way of detailing your car. It will take longer than usual, require more materials and supplies, and it’s tough on your body working in the sun that long. But as a devoted mobile detailer, I won’t back down from a challenge.


Wheels
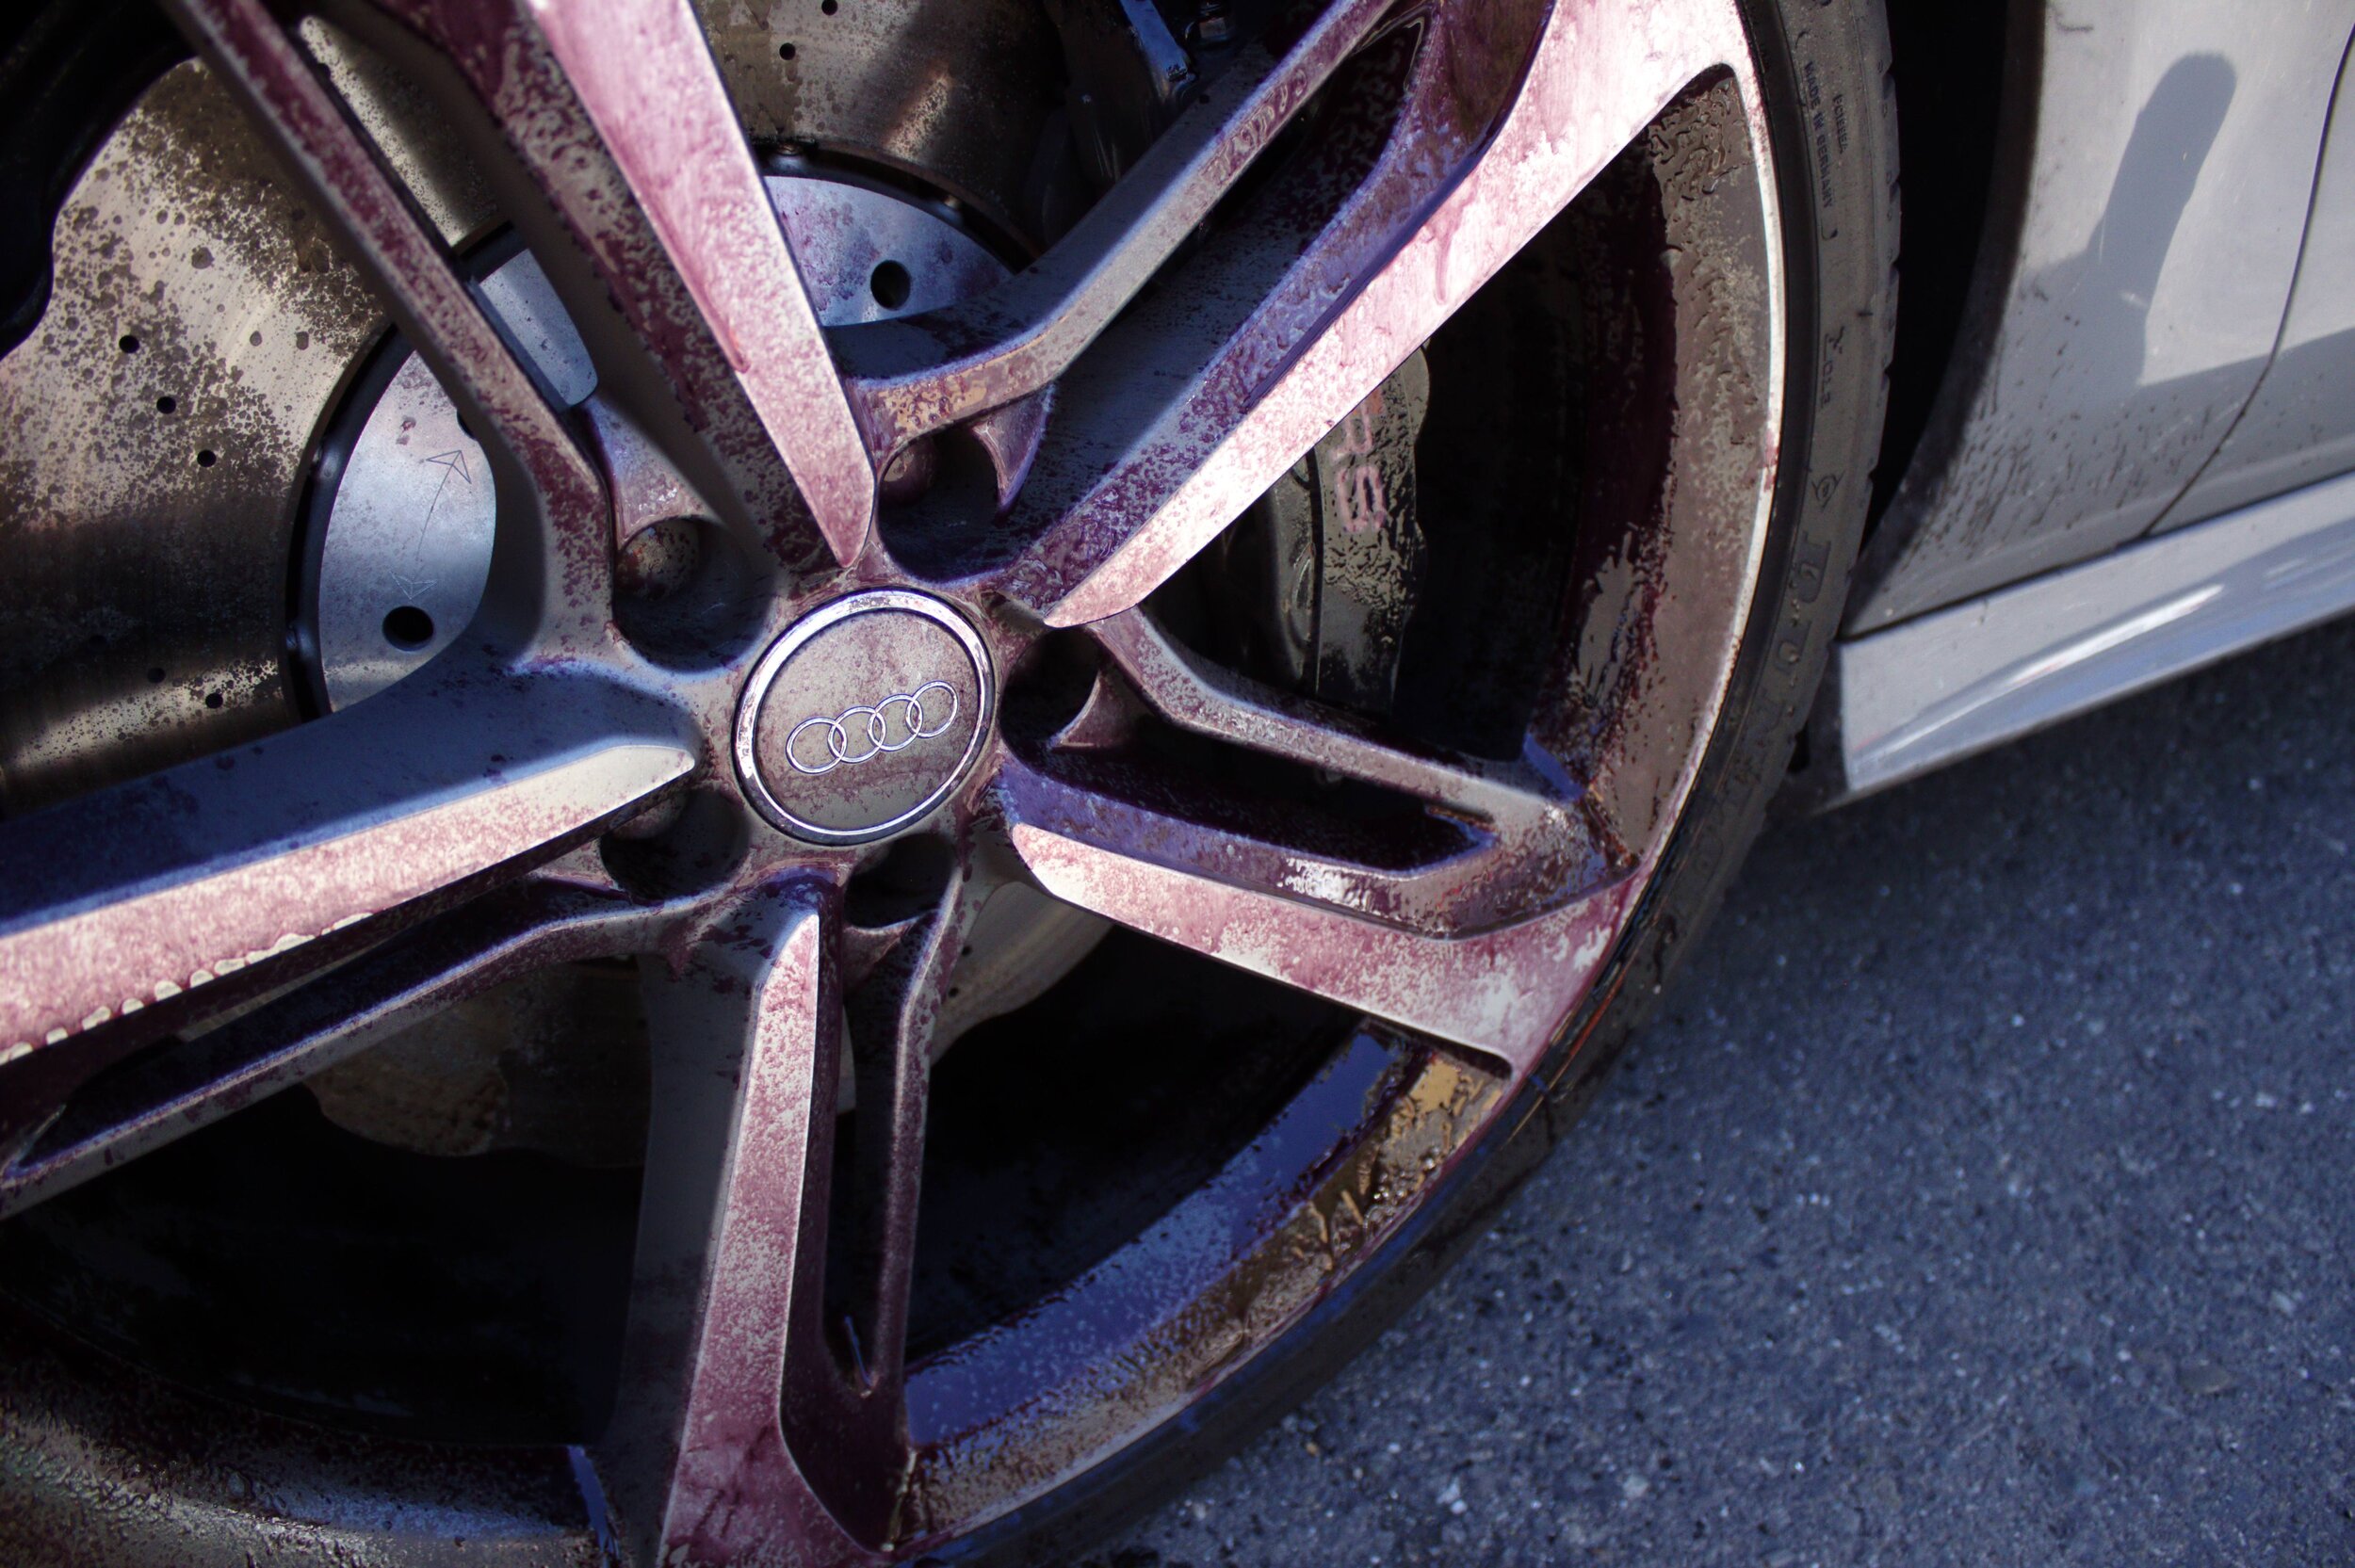
Let’s get started with the wheels. The trick here is to prevent the chemicals from drying; in this case, it means to constantly wet the wheel with water and wheel cleaning solution. I’m using Meguiar’s Wheel Cleaner. For those of you who don’t know, the wheel cleaner reacts with iron particles and brake dust, turning purple, and chemically breaking iron down making it easier to remove.
After spraying, take your wheel brushes and go over the wheel as normal. If you don’t know how to clean wheels, you can check out our guide - How to Deep Clean Wheels and Rims. Don’t forget to continuously wet the area and reapply wheel cleaner. When in doubt, rinse off the rest of the iron remover and reapply. Instead of letting it dwell and getting very meticulous with your brushing, you can perform several passes to make sure you get everything.
After repeating the wheel cleaning process a handful of times, we get this. A far cry from the brown and gross wheels of earlier. The tires were also sprayed and scrubbed with a diluted degreaser to remove any browning that has occurred.

Washing
Starting the wash process, I’m using a modified two-bucket method with Optimum No Rinse. I start with a two-gallon sprayer filled with ONR (although any quality rinseless wash will do) at around clay dilution (1:64) and rinse down the entire car. This does two things. First, it allows the car wash to begin breaking down dirt and road grime that’s on the car’s surface. Second, it begins to cool down the paint through evaporative cooling.
The reason I’m using ONR at a higher dilution is that it provides more lubricity during the washing stage. This minimizes the risk of inducing swirl marks or scratches on the paint which is amplified in the heat. Normally on hot days, the primary risk during the wash stage is making sure soap doesn’t dry on the car leaving soap marks and water spots, but with a waterless wash, this risk is eliminated. You can allow ONR to dry on the paint and remove it by re-washing that pannel and drying immediately after. Now, wash your car as normal. If you’re unsure of how to do this, check out our guide on how to wash your car.

The next step is physical decontamination, I use a traditional clay bar to remove embedded surface contaminants. The reason we clay is to pull physical contaminants (paint is soft, so stuff can stick even after washing) from the car’s paint. These embedded contaminants contribute to the “sandy” feeling that your paint can develop if not routinely clayed. After this, your paint will feel silky smooth. Doing this step will also help waxes, sealants, and coatings bond better.
The first thing to do is soak the paint as well as your clay bar in ONR. Next, clay your car as usual, but don’t forget to continually wet the surface and clay bar as you move from section to section.
Paint Correction
Now its time for paint correction. I’m performing a one-step correction on this RS7. Traditionally, it’s been a bad idea to polish in direct sunlight - older compounds dry out quickly throwing dust all over the car, causing the pad to skip, or even marring the paint. However, newer products have been able to combat this problem to a degree and by adapting our technique, we can get showroom results in the blistering sun.

Let's start with temperature control. Heat is a byproduct of paint correction no matter what temperature you’re working in, but in the sun, car panels can heat up to insane temperatures on their own, making paint correction very dangerous. While correcting a car’s paint, the panel should never feel hot to the touch - if you can’t hold your hand on it, it’s too hot. If a panel becomes too hot, the paint will become gooey and the polisher can completely ruin a paint job requiring a full repaint of the affected area. So it is integral that you properly manage heat while working.
I accomplish this by leaving a towel over the next section I’m going to work on until I get to that section - effectively shading the area. Also, right before I work on that area, I will spray it down with cold water and let it evaporate away. If the panel becomes too hot while working, repeat the above steps as necessary. The next adaptation is to oversaturate your polishing pad. Drying is our second biggest enemy here, we solve this problem by simply adding more product to our pad. In this picture, I’ve already primed the pad with an excess amount of product and I added four quarter-sized drops as well. In general, I try to use polishes that are on the oily side for working in the heat. My go-to pick is Griot’s Garage BOSS Fast Correcting Cream.

Protection
On to the last step of protecting your hard work with a wax, sealant, or coating. This can be the most difficult part: not screwing up your finish after you've worked so hard! The choice of what you use is very important here, and in my experience, sealants are generally the only thing I'd apply in this heat and direct sunlight. Waxes are too temperamental and coatings should be applied in the shade.
Today's sealant choice is Blackfire Wet Diamond. I apply slightly more than a dime-sized drop on my microfiber applicator then work it in a small 2x2 section. I make far more passes (about 5 or 6 in this case) than I normally do in order to give the sealant more of a chance to bond to the paint before it dries up completely. Apply the sealant based on the manufacturer’s directions and buff off immediately. In my experience, sealants leave a somewhat greasy film behind at first, but don't stress out! Buff it the best you can until the greasy look becomes small and uniform, then wait. If you'd like, you can give it another buff after this, but I tend to find that it goes away by itself after a couple of minutes!
My pure speculation theory is that whatever carrier/solvent is in the sealant dries/evaporates faster than the "greasy" streak, which takes extra time to dry. If anyone has more insight into this I'd love to hear about it. If you're finding that it's still greasy after a bit, I'd gently buff off what I could with a completely clean towel, then reapply a tiny amount of sealant and try again. Sometimes it's a fine balancing act.

Photoshoot!
Now that all of the hard work is done, its time to enjoy the fruits of your labor. A lot of people say you should’’t detail cars in the sun, but it is entirely possible to achieve amazing results in less than amazing conditions. Thanks for taking the time to look though! Hopefully, you learned something new. Feel free to leave a comment or reach out to Drive by Detail with any additional questions. Enjoy!
