
Overview
Having clean wheels can make a huge impact on your car’s overall appearance. If you want your to look as good as possible, you need to pay attention to the even smallest details - a great place to start is the wheels. In this article, I - an auto detailing professional - will show you all how to best clean and protect your wheels.
If your wheels have been neglected for a long time, you’ll need to work a little harder to bring them back from their current condition. Once you have redeemed them, simple maintenance cleaning will be enough to keep them looking like-new.
The majority of the build up on your wheels is from brake dust. When you hit the brakes in your car, brake dust is released into the air around the calipers - most settles on the wheels. Brake dust is a by-product of the braking process, and if left untreated over a period of time, the corrosive qualities of it can permanently damage the finish of the wheels. If you look at your vehicle, you will notice that the front two wheels look worse than the back two. This is because your car primarily uses the front two brakes and the front wheels also have bigger brakes which produce more brake dust.
As you can see, regular auto detailing and maintenance of your wheels makes them look better and prevents damage to keep them looking amazing for many years.
Products & Tools Needed
Dedicated wheel cleaning bucket
An auto detailing car soap - we like Chemical Guys
Car detailing brush - we like this one
Fender and tire cleaning brush
E-Z detail wheel brush - we like this one
Wheel Cleaner - Meguiar’s makes a great one
Tar & Iron Remover - CarPro is the best
Rubber Cleaner for the tires - Adam’s works great!
Wax or sealant to protect the rims - use your favorite wax
Tire dressing - use a matte or a glossy finish (whatever you prefer)
Starting
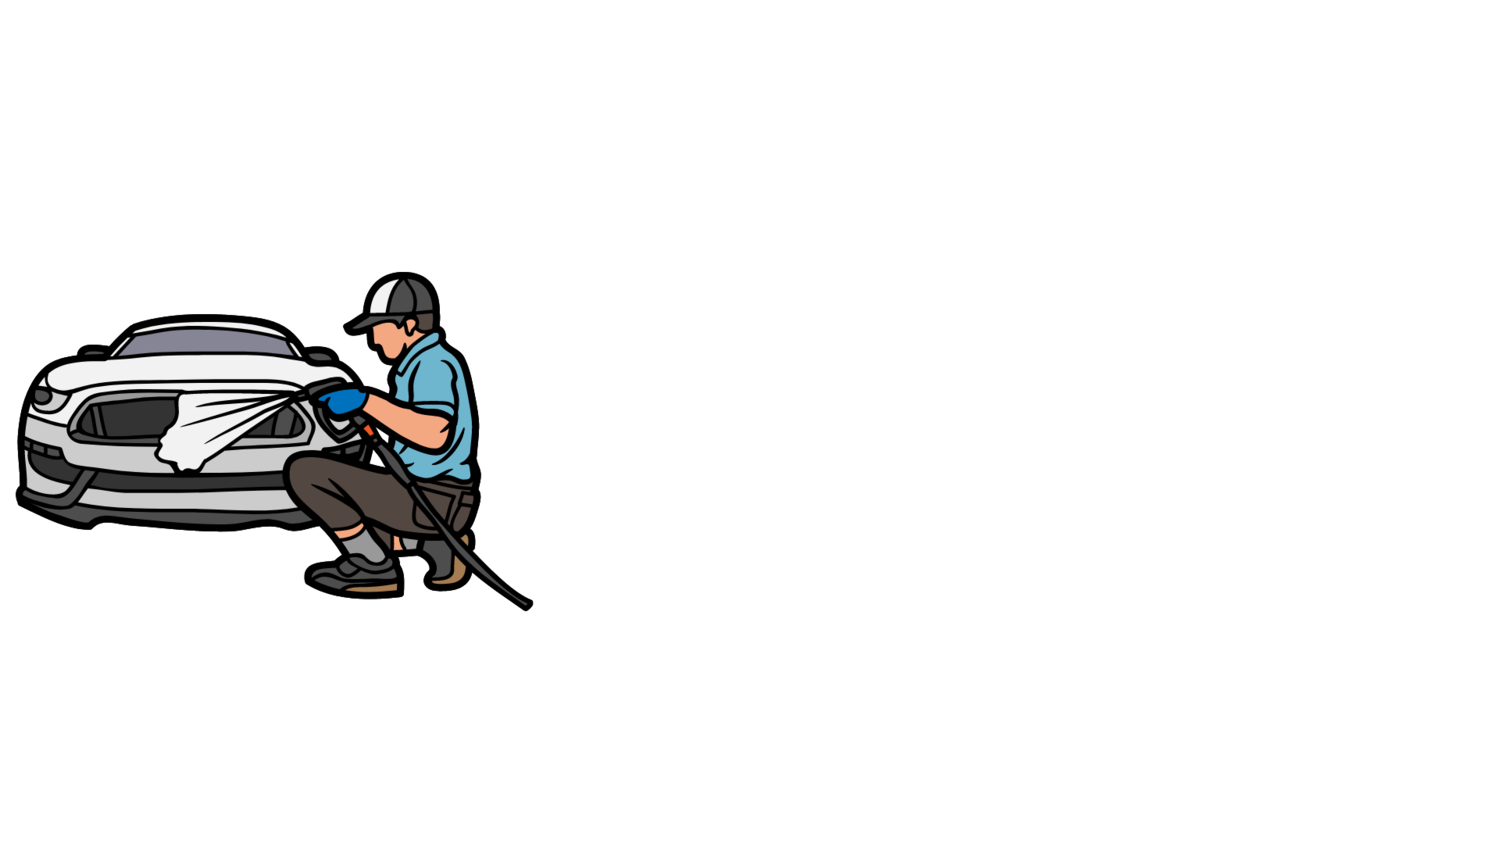
Now that we have gathered the proper tools and supplies, we can put them to good use. Start by filling up the bucket with soap and add your brushes and wash mitt. I like to wash the wheels first since it is typically the dirtiest part of the vehicle and any over spray will that gets on the car’s paint will be washed off later.
Step 1: Make sure to rinse your wheels and wheel wells thoroughly and then apply the Iron & Tar remover. This will break down any iron fillings and rubber on the wheels that may not have other wise come off. You should let the iron remover dwell for a few minutes, as it is working, you should begin to see little purple spots on the rim. This is the by-product of the chemical reaction that is the iron remover oxidizing iron particles. After a few minutes, rinse off the wheel thoroughly and move on to step 2.
Step 2: Next, spray on your degreaser of choice and let it sit on the wheel in order to break down all of the grime, dirt, and brake dust that may be on your wheel. When you’re spraying, make sure to soak all of the areas like the face, tire, calipers, wheel barrel, and wheel well. Now you’re ready to clean the wheel. Begin by taking your E-Z detail wheel brush out of your soapy wheel bucket and start to clean the wheel barrel by brushing back and forth. Make sure to fully scrub the entire area of the barrel for the best finish. Once the inside of the wheel well is thoroughly cleaned, take out your wash mitt and clean the face of the wheel. After you have cleaned this area, make sure to rinse off your tools before putting them back into the bucket - its best to keep the soapy water as clean as possible.
Step 3: Now we will focus on the details of the wheel. Use your auto detailing brush to clean around the air inflation stem, the lug nuts, the brake calipers, and any logos. Lots of people miss these areas on their car, so make sure to clean them fully.
Step 4: Now you need to focus on the areas around the rim. Take a stiff bristled brush and clean the tires. If your tires are brown, use a rubber cleaner or degreaser to pre-treat the area for the best results. Once the tires are clean, use another stiff bristled brush to clean the wheel well. Lots of road grime and dirt are stuck to this area, so really scrub this area - it makes a big difference. Once you have finished all of the above steps, look over the area closely and check all of the details to make sure it really is clean. If not, repeat the above steps as necessary. If your wheels are heavily contaminated, you make need to use a clay bar and clay lubricant to remove it. Dry off the wheel and tire using a blower or drying towel.
Step 5: If your wheels are dull, now would be the time to polish them either by hand or by machine. If your wheels are clear coated, make sure to use a traditional polish that is intended for clear coat - Meguiar’s 205 works great. If your wheels are not clear coated, you can use a metal polish. If you are not sure, use a polish safe for clear coat - you can’t go wrong. If you are not polishing or if you are done polishing your wheels, now you need to protect your wheels. Use your favorite wax or sealant to protect them. If you want my suggestion, Colinite 845 makes a fantastic auto wax that lasts around 6 months. Finally, dress the tires and any plastic areas with your favorite tire dressing. If it has been a while since you have cleaned your tires, you may need to apply multiple coats of dressing for a long-lasting finish.
Now that your car’s wheels are cleaned, detailed, and protected you can move on to washing the rest of your car. Once you have finished, take a look at your work and see what a difference a full auto detail can make. I think you’ll find that your car’s wheels are not only shiny, they’re bright!
Thanks for reading, and if you have any questions, feel free to send me a message and I will answer as soon as possible.